Posted By: Lisa Wielgus
Decorating your home can be a game of trial and error. You might find yourself struggling to arrange pieces you enjoy into a setup that looks stylish, modern, and cohesive—particularly when working with wall art.
How can you hang everything from family photos to art prints in a way that ensures this variety of visuals feels neat and unified?
One of the best solutions is to use frames. Framing makes a tremendous difference for all kinds of wall art, sprucing it up with grace, style, and some extra flair without overshadowing it. Whether you are decorating a room from the floor up or trying to preserve an art piece you adore, these tips can help you select the best frames to make your decor pop—and even elicit gasps of appreciation from guests.
A handsome border for all.
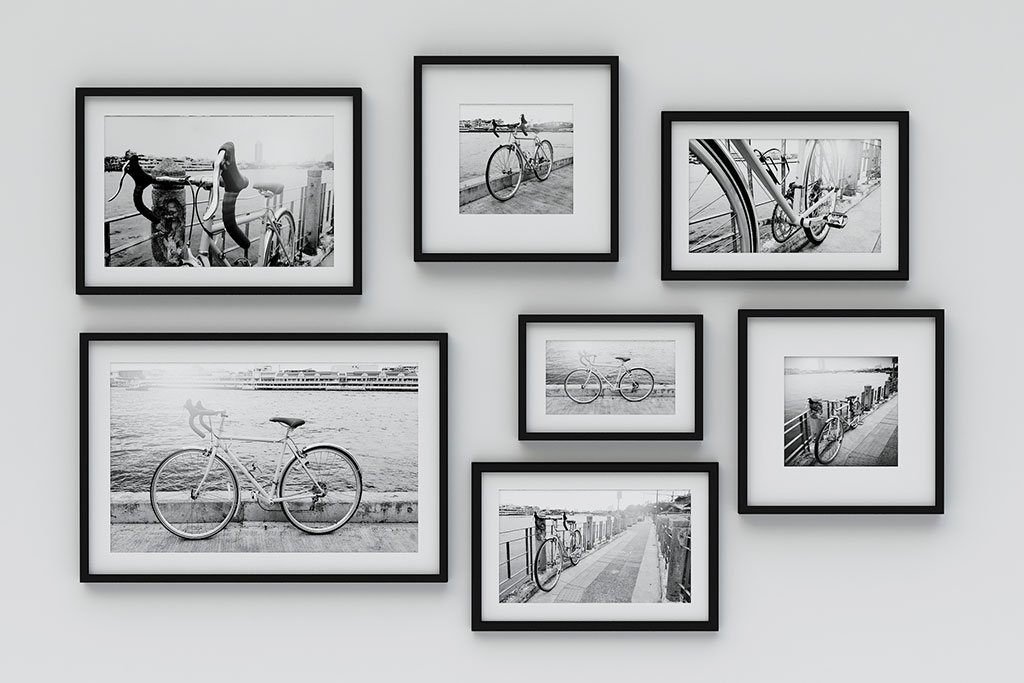
The secret to framing is to not overcomplicate it. You simply need to match the frame style to the piece you’re framing. For example, wrap a traditional oil painting in an ornate, old-world frame or hang graphic media posters in clean-lined, neutral frames. The same principle applies to color.Aim to match the frame or its mat to a color within the art itself, though it’s better to target an accent color rather than a dominant one since this can oversaturate the tone. If you’re framing something black-and-white, a black frame is almost always recommended.
These compatibility rules work for just about all wall hangings, including drawings, photographs, paintings, prints, and even unique pieces like woven textiles and handwritten letters. If a frame bears an affinity to what’s inside, the results are sure to be stylish.
Frame to your fancy
As you gild your goods in frames, always remember to keep your personal style in mind. For a rustic look, stick to natural, unfinished materials. For a contemporary, clean-lined look, use thin black frames with white mats and glass panes, which will make disparate pieces feel cohesive. And for a transitional look, vary different frame styles within a single room or even on the same gallery wall. Just make sure to adhere to a tight color scheme to prevent visual clutter.

Mat or no mat?
These thick, paperlike borders inside frames serve several purposes. A mat is right for your project if you want to accent important decor with thicker margins, fill more space in a larger frame, or cover an object’s unappealing edges and corners.
That said, a mat is not always necessary. “Most pieces look better with a mat, with a couple of exceptions,” Tessa Wolf of framing company Framebridge tells One Kings Lane. “Large-format photography looks incredible unmatted—the image has a greater impact without anything qualifying what you’re seeing.” Wolf also recommends omitting the mat when aligning a cohesive image across multiple frames.

Protective layering
If you’re framing a particularly beloved or fragile piece of art—an original acrylic painting would be an example of both—protect it with UV-filtering glass and a dust cover, a paper layer that seals the back of the frame and keeps dust away from your masterpiece for extra longevity. Only some frames come with these features, so be sure to read the labels; many frames have imitation fiberglass, which is lighter than glass and shatter resistant but doesn’t offer UV protection. You may also need to request protective glass and a dust cover specifically for a professional frame job.

DIY vs. professional framing
When undertaking a DIY framing project, always take precise measurements, and consider measuring multiple times over as a fail-safe. Also, take note of the depth of any three-dimensional pieces. The measurements featured on the frames at your craft store will indicate their inner dimensions, so as long as you know the size of your decor, you should have no trouble finding the right frame. For a price hack, buy discounted, framed prints at a home goods store and replace the inner art; just take a measuring tape on your shopping trip because finished art pieces tend to label their outer dimensions.
Then again, if you’re willing to fork over the price for professional framing, you can shirk the responsibility of doing any math and ensure you get your desired results. This is particularly advisable when framing painted canvases, the extra depth and weight of which can make DIY framing a chore and potentially result in a poor fit.
If you’re uneasy about the prospect of spending hundreds, or even thousands, of dollars framing every piece of wall decor in your home, work in priority order. Frame treasured pieces in rooms that your guests are most likely to see—the living room, dining room, foyer, and powder room—and then work on acquiring pieces in less conspicuous spots such as hallways, bedrooms, and private bathrooms.

Alternatives to framed art
In some cases, you can eschew framing altogether. For example, you can hang sketches and watercolors from oversized metallic pins to create an art studio vibe. To craft a quirky and youthful look, hang lines of string, then pin photographs and art prints to them. For more simple DIY inspiration that can fill an empty wall, use wainscoting to frame a swath of wallpaper or fill shadow boxes with dynamic decor like gemstones and awards.
Once you wrap your favorite decor in frames and hang them, you can fully appreciate these pieces for their heightened style and vibrant coloring. After all, frames can elevate even the simplest objects to the level of art. Well-framed decor will dress up any space with glimmers of visual intrigue and add spectacular personality that your guests will be sure to admire.